Containerized DSS engine
While visual recipes are best run on Spark or in SQL databases, some setups don’t have access to compute resources outside the DSS node, some recipe instances have inputs or outputs that don’t let the recipe offload the compute externally, and some recipes just don’t manipulate enough data to warrant the use of Spark. In those cases the recipes will run with the engine named “DSS”, implying that the DSS node will be the one providing the compute resources. This can lead to over-consumption of CPU and memory on the DSS node.
If the DSS node can leverage a Kubernetes cluster, then most of these recipes can be pushed to run inside the Kubernetes cluster instead of on the DSS node, thereby freeing CPU and memory to maintain a reactive DSS UI. The feature is activated in Administration > Settings > Containerized Execution , in the Containerized visual recipes section.
Setup
The prerequisites are the same as for containerization of code recipes.
Build the base image
Before you can deploy to Kubernetes, at least one “base image” must be constructed.
Warning
After each upgrade of DSS, you must rebuild all base images
To build the base image, run the following command from the DSS data directory:
./bin/dssadmin build-base-image --type cde
On cloud stacks provisioned instances, this is handled by the setup action Setup Kubernetes and Spark-on-Kubernetes
Instance-specific image
For containerized visual recipes to be able to leverage custom Java libraries, custom JDBC drivers or plugin components, such as custom datasets or custom processors, a specific image must be built on top of the base image.
For cloud stacks provisioned instance, we recommend to use the following Setup Action:
Type: Run ansible Task
Stage: After DSS is started
Ansible Task:
---
- name: Build image
  become: true
  become_user: "dataiku"
  command: "{{dataiku.dss.datadir}}/bin/dssadmin build-cde-plugins-image"

- name: Push image
  become: true
  become_user: "dataiku"
  command: "{{dataiku.dss.datadir}}/bin/dsscli container-exec-base-images-push"
For on-premise installation, you can perform the same task using the button Build image for Containerized Visual Recipes in Administration > Settings > Containerized Execution
Plugins
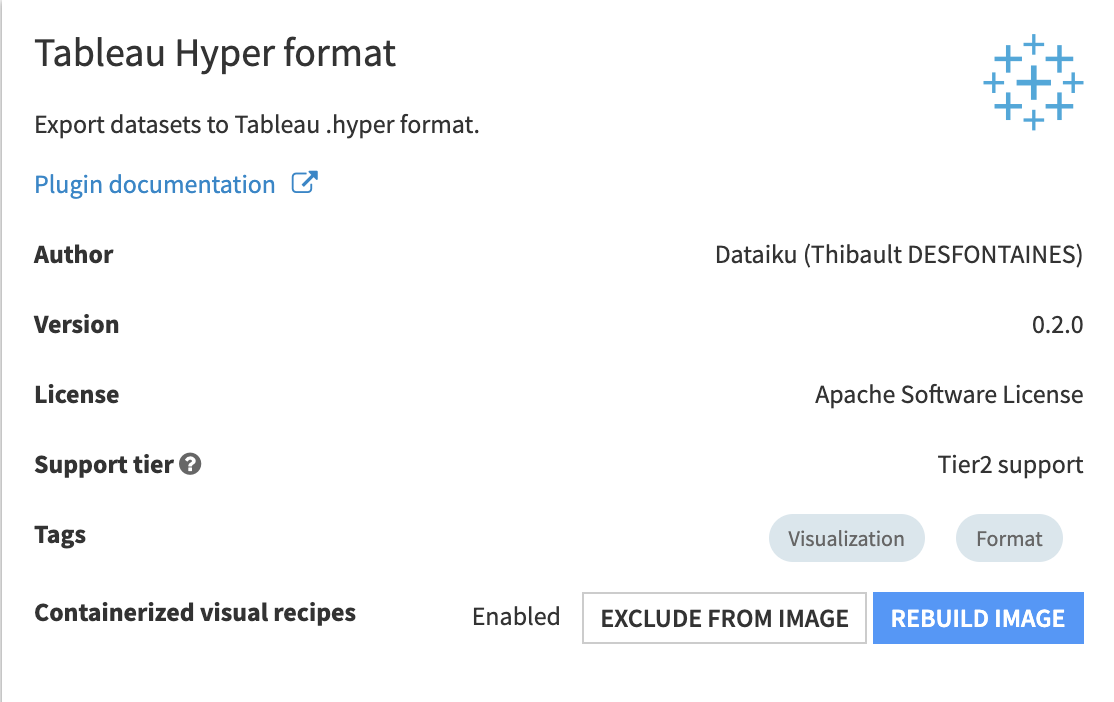
By default, plugins which DSS deems of interest for visual recipes are added to the image automatically, when plugins are installed or updated. This auto-rebuilding behavior can be turned of in Administration > Settings > Containerized Execution in the Containerized visual recipes section. You can also choose on a per-plugin basis whether the plugin is included in the base image by going to the plugin’s summary page and using the “Exclude from image” / “Include in image” button.

Note
By default, development plugins are not auto-rebuilt.
Containerized execution configs
Container configs hold the settings controlling pods’ sizes and namespaces, and what kind of workload they accept in DSS. To use containerized visual recipes, some of them need to have their Workload type set to “Any workload type” (the default) or “Visual recipes”. Container configs with a “User code (Python, R, …)” workload type are not accepted by visual recipes.
You can set a container config to use by default for all visual recipes on the instance in Administration > Settings > Containerized Execution in the Default container execution configuration section. This setting can be overridden in each project and each individual recipe.
Running a visual recipe in a container
For a given visual recipe, if the engine chosen is “DSS”, then the option to run in a container is controllable from its Advanced tab, by picking a Container configuration (or leave it to the instance- or project-level default setting). When a container config is set, then the engine label should change to “DSS (containerized)” to indicate that the recipe is expected to be run in a container. If it changes to “DSS (local)”, then it means that the characteristics of the recipe, or of its inputs or outputs, make it unsuitable to containerization. Notable cases where this happens are:
a Prepare recipe uses a “Python Function” processor
a recipe with input or output on some dataset types: internal datasets (metrics, stats), Hive, SCP, SFTP or Cassandra datasets
a recipe with input or output datasets on connections with authentication modes relying on the DSS VM, such as those using kerberos or instance profiles on AWS
a recipe with input or output datasets on connections only accessible locally, like SQL connections to a database on localhost
Note
To flag a connection as not-to-be-used-in-containerized-recipes, add a property in its Advanced connection properties, with name “cde.compatible” and value “false”
Note
For connection targeting a service running on the same VM as DSS, it is often possible to use the internal IP address instead of “localhost”.
Tuning
Containerized visual recipes are subject to the limits enforced on the container config they are run with. While containerization allows to pull compute resources from nodes other than the DSS node, these resources are usually not infinite. Memory usage, in particular, can be excessive w.r.t. the pod’s limits, or w.r.t. the node running the pod. Additionally, the containerized visual recipe being run as a Java process, it’s subject to the “Xmx” command line flag, which controls the maximum memory it’s allowed to grab from the container. To control memory usage inside the container, there are 2 options:
add a “dku.cde.xmx” property in the
Custom propertiesof the container config. The value is a standard “Xmx” value, like “4g” (for 4GB)set a “Memory limit” on the container config and add a “dku.cde.memoryOverheadFactor” property in the
Custom propertiesof the container config. The correct value of “Xmx” will then be deduced so that “Xmx + overheadFactor * Xmx” fits withing the memory limit of the container config
Additionally, it is advised to add a “CPU request” on the container config so that the pod immediately has CPU resources at its disposal, because Java processes tend to have a CPU usage spike when they start and load all the classes, for example ensuring half a core right from the beginning.