
Flow zones
Data Science projects tend to quickly become complex, with large number of recipes and datasets in the Flow. This can make the Flow complex to read and navigate.
To better manage large projects, you can divide them into zones. You can define your zones in the Flow, and assign each dataset, recipe, … to a zone. The zones are automatically laid out in a graph, like super-sized nodes. You can work within a single zone or the whole flow, and collapse zones to create a simplified view of the flow.
Zones do not define new security boundaries, they are only used for laying out the flow.
Use cases
You can use zones to:
Reflect the different phases of processing in a flow.
Isolate experimental branches.
Allow individuals to delimit what they are working on.
Usage
Flow zones are a completely optional feature. As long as you have not defined zones, the Flow shows in its entirety.
The default zone
By default, all nodes are in the Default zone. Any flow node that you have not placed in a zone is automatically in the Default zone. You can’t delete this zone, although you can rename it. When you delete the last non-default zone, the Default zone will also disappear and you will be left with a zone-free flow.
Adding Zones and moving items
There are several ways to add zones into the flow. The simplest is the + Zone button at the top of the screen. Alternatively, you can select several nodes, right click and choose the option Move to a flow zone. In the modal you can create a new zone or select an existing one. Zones cannot be nested.
Recipes and their outputs always live in the same zone. If you try to move a dataset then DSS will move the upstream recipe with it. It is best to think in terms of moving recipes into zones, rather than datasets.
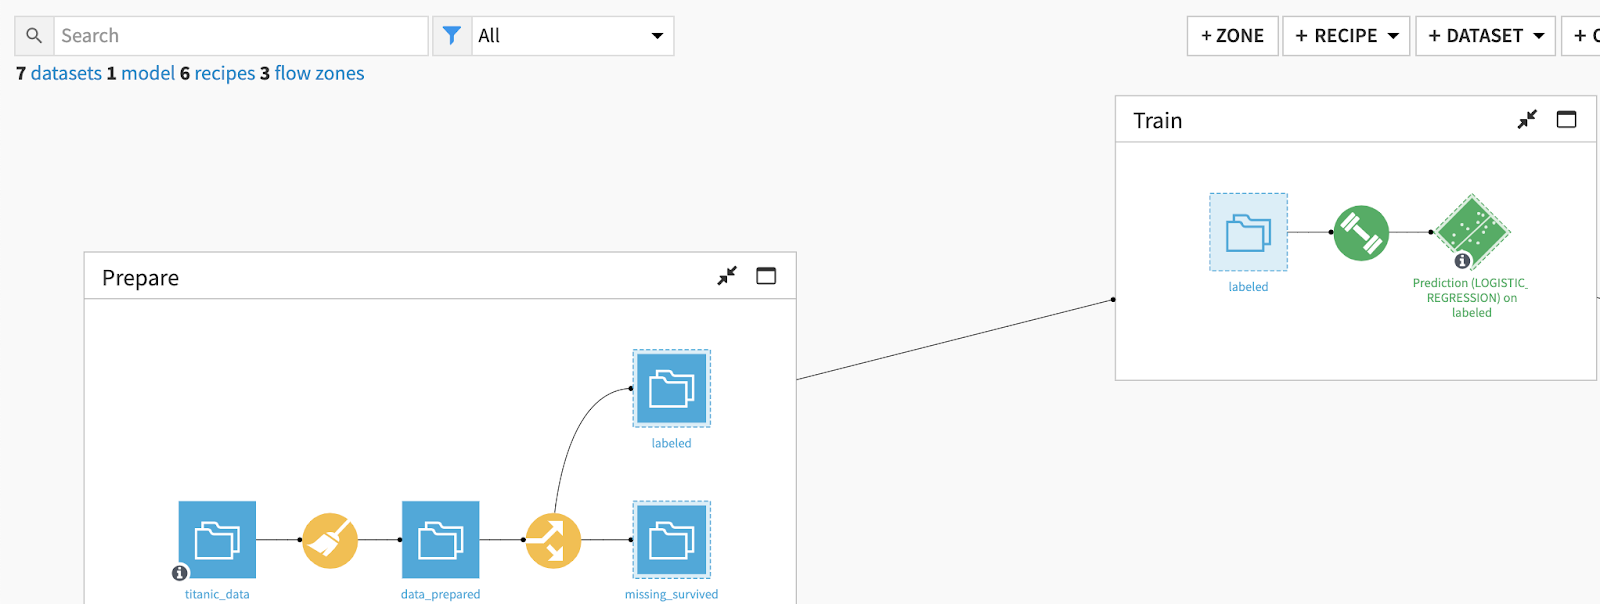
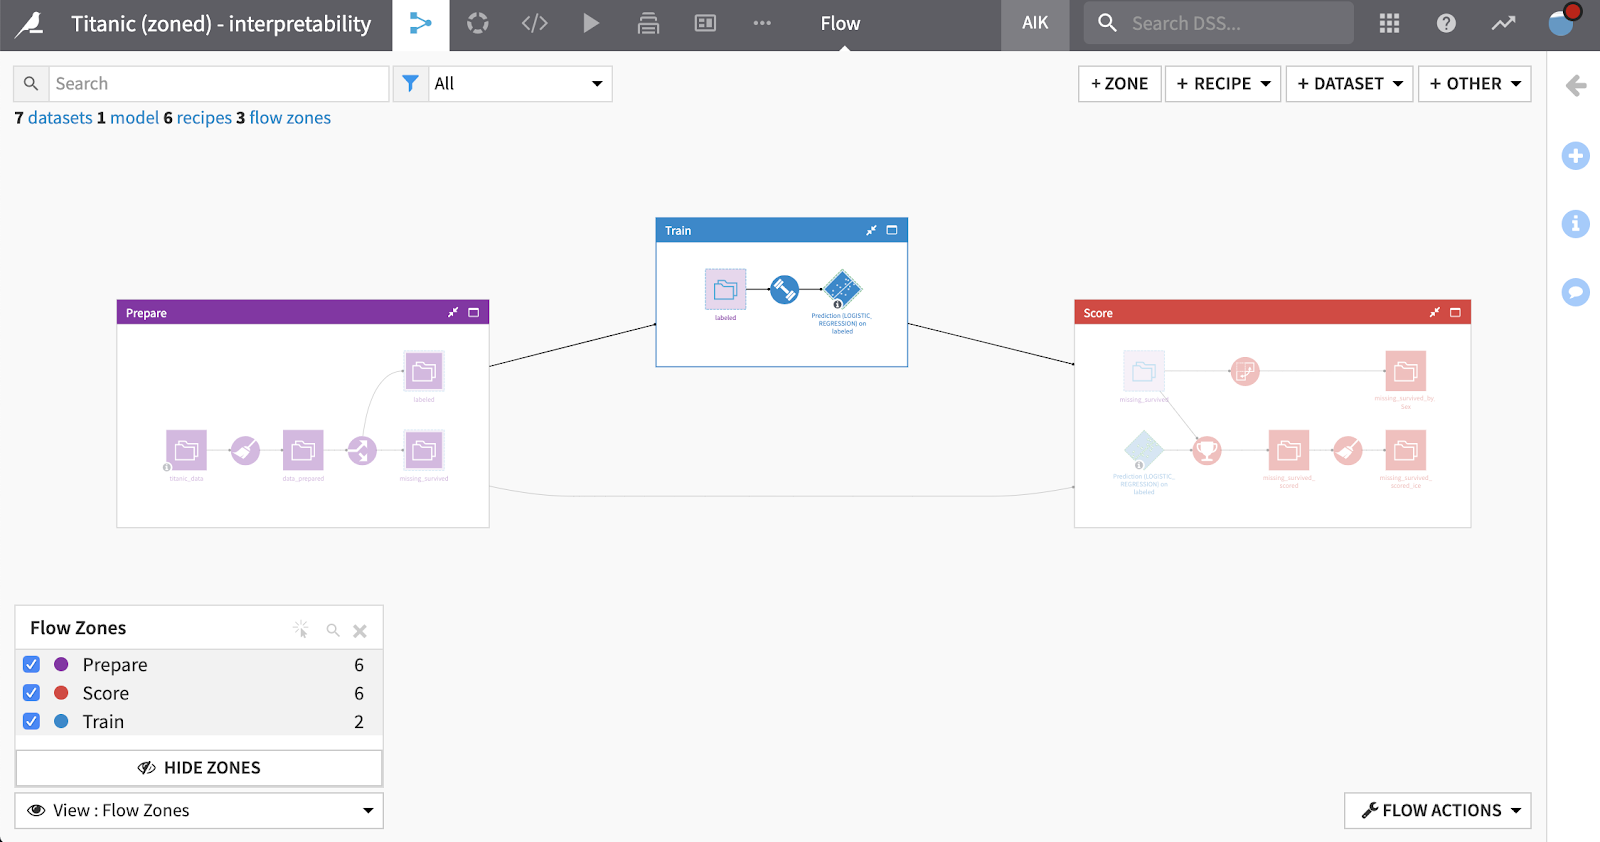
In the picture above we have moved the training recipe into the zone Train. This takes as input the dataset labeled. As a result the system has drawn in an extra node to show the reference to labeled inside the Train zone.
If you click on the labeled node in the Train zone, the original node in the Prepare zone is highlighted. You can use the right click option Go to original to jump back from the node in the Train zone to the original in Prepare.
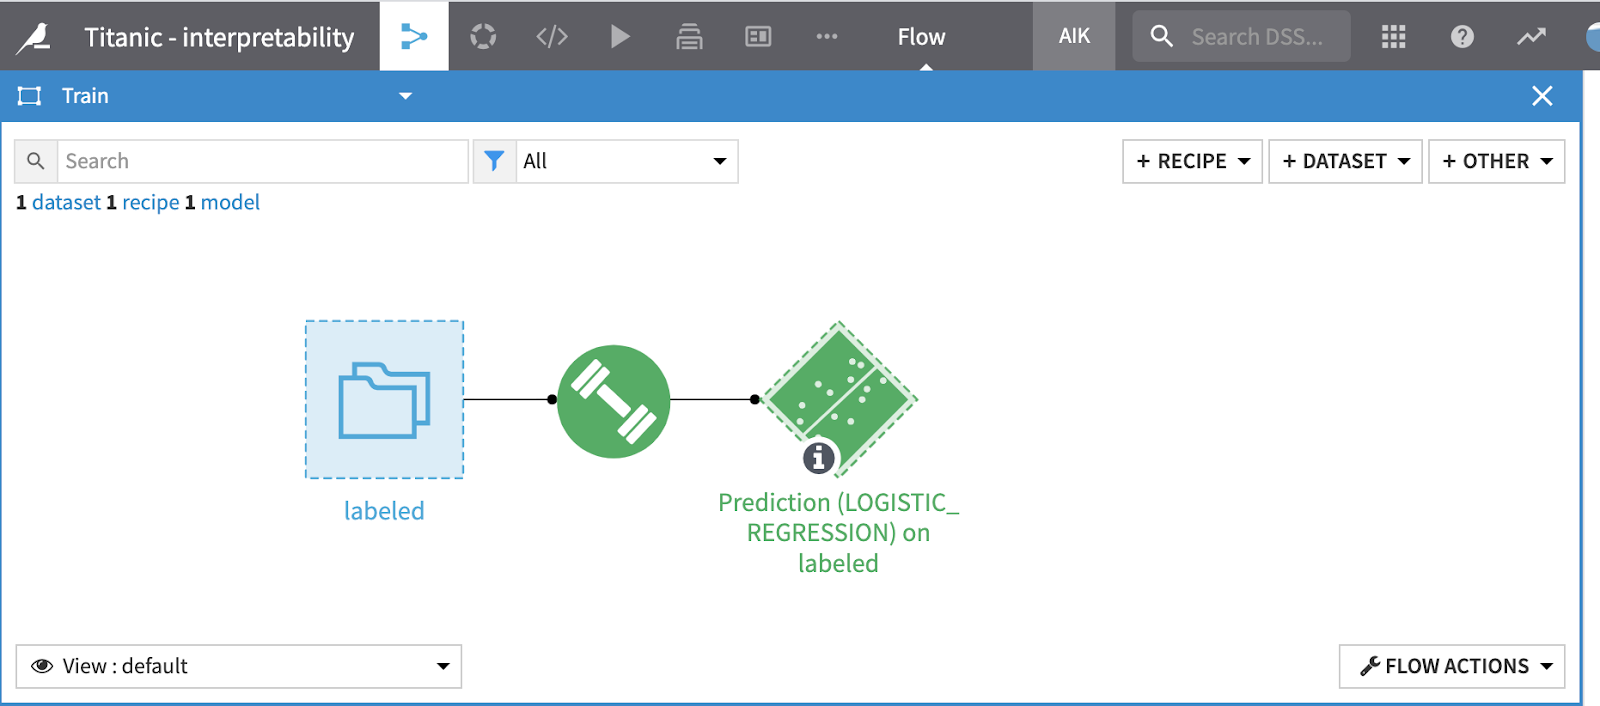
Open one zone
To “Maximize” one zone and work only in that zone, use the rectangular icon on the zone caption.

Once in a zone you can use the X icon in the top right corner to close it and go back to the multi-zone view.
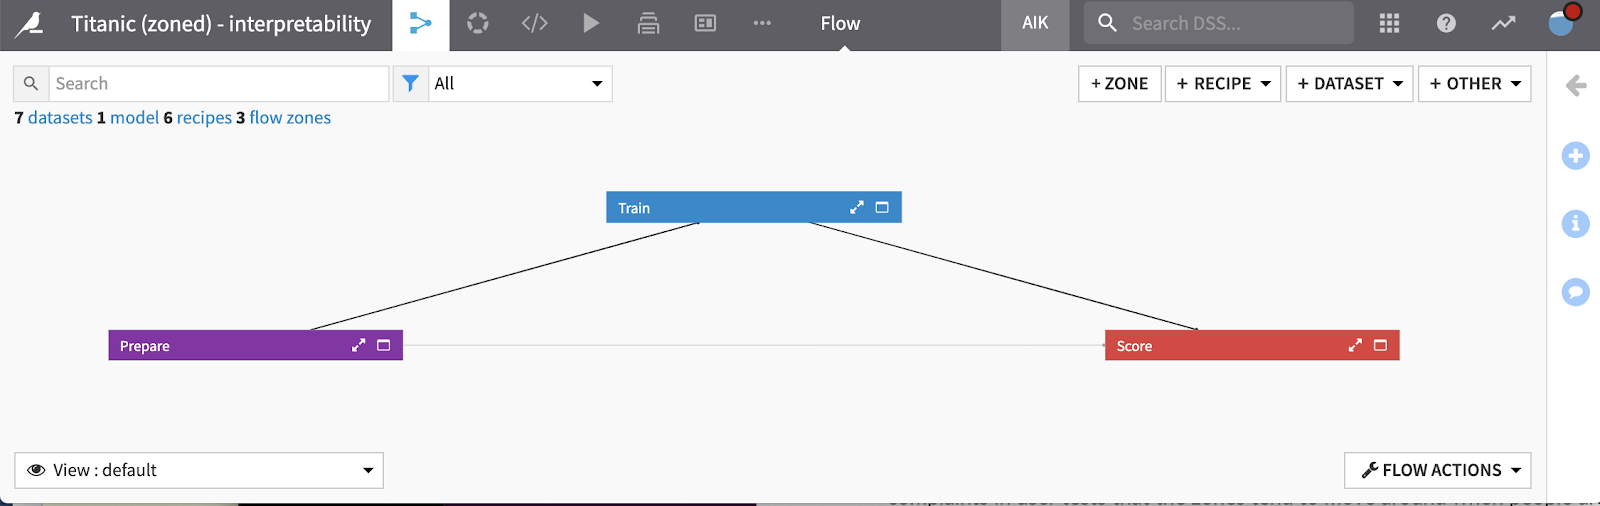
Collapsing zones
You can collapse any of the zones on the flow using the arrows icon on the zone caption. You can also right click on the caption and use the option there. If you select all the zones, for example by clicking on the flow zones text under the search bar, you can then right-click on a zone caption and collapse all the zones at once.
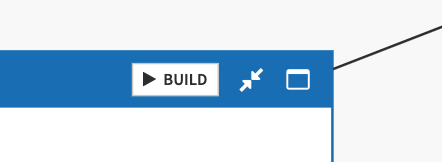
Building zones
You can build all datasets from a zone by just clicking on the BUILD button. Behind the scene it runs a build upstream from datasets at the end of the zone. See Rebuilding Datasets.
Refactoring flows
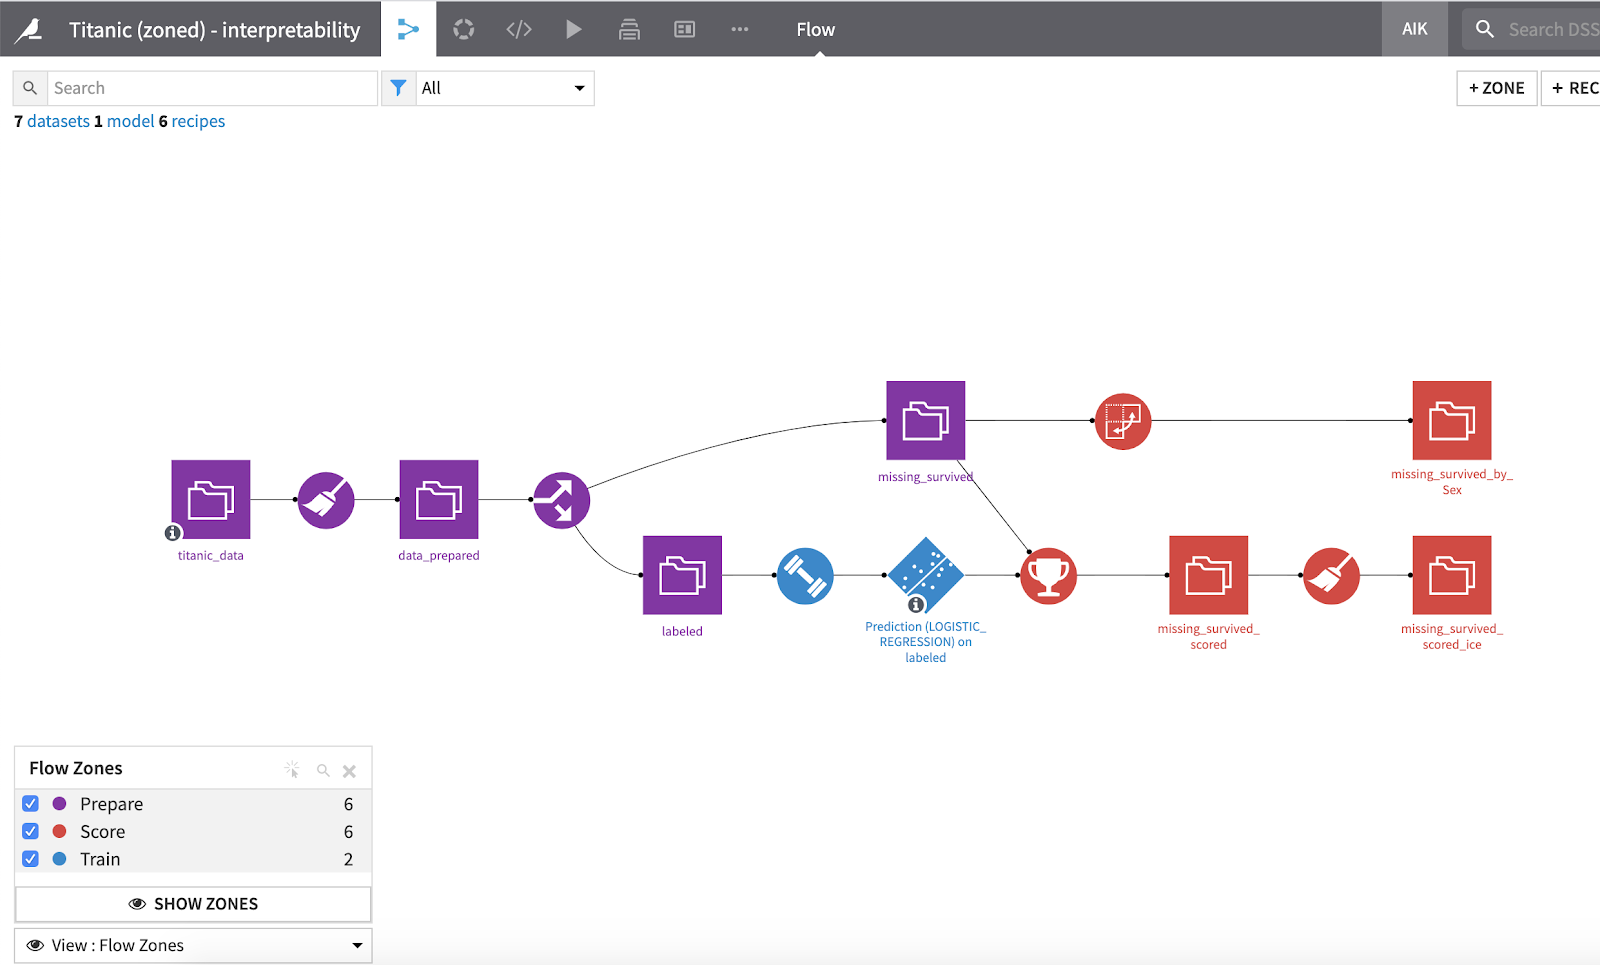
There is a new Flow View for easy refactoring flows into Zones. This allows you to view the nodes without zones and to move them between zones in a similar fashion to apply tags in the tags view.
Manual positioning
You can enable flow zones manual positioning in the project settings Flow Display section.
When the option is enabled, you can manually position flow zones by clicking and dragging on their header (or alt + click on the body of the zone).
When the option is disabled, all previous manual positions are cleared.