
Streamlit
Streamlit is a Python library to build interactive webapps for machine learning and data science.
Documentation for Streamlit is available at https://docs.streamlit.io
Create a Code Studio template
In “Administration > Code Studios”, click Create Code Studio template and create a new template named
streamlit-templateIn the “Definition” tab, click on Add a block and select
StreamlitIn the “Definition” tab, click on Add a block and select
Visual Studio CodeClick Build
Then in the Permissions tab, you can manage which user groups can use the template to create their own Code Studio instances in their projects.
Launch a Code Studio instance
Once the template is built, in a project with a cluster attached:
In “Code Studios” click New Code Studio
Select the
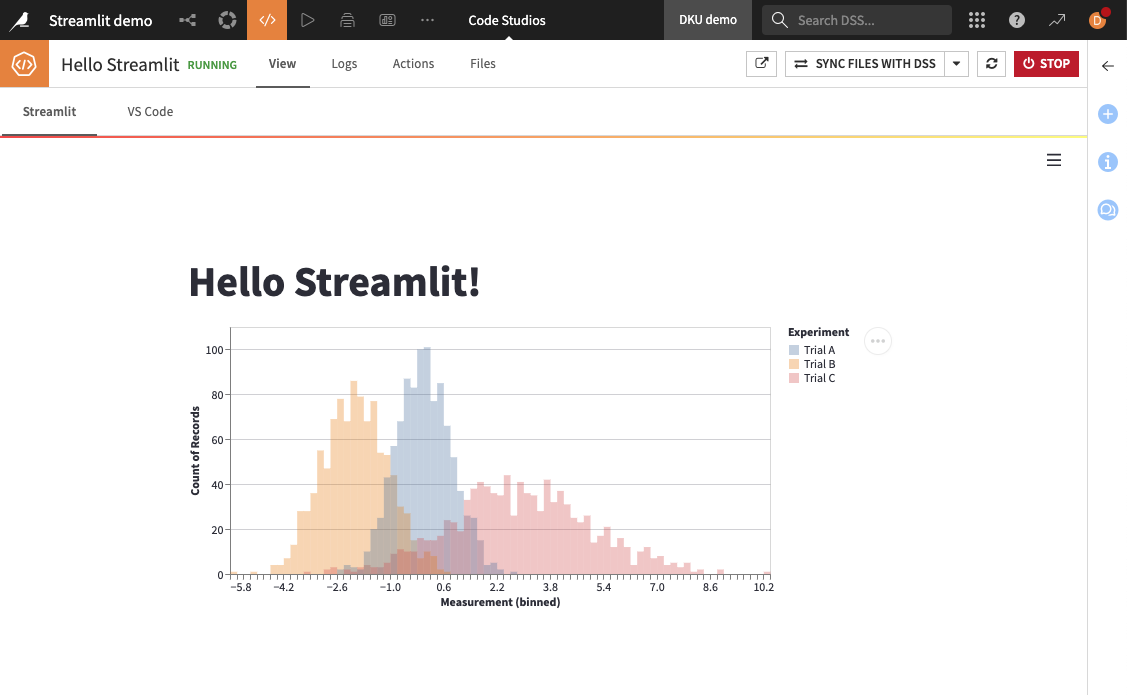
streamlit-templateCode Studio template, and create a new Code Studio namedHello StreamlitStart the Code Studio
From the VS Code tab, you can edit the webapp. The starter file is located at
code_studio-versioned/streamlit/app.py. Click on Sync files with DSS to persist changes upon Code Studio restart.From the Streamlit tab, visualize and interact with the webapp. Edits are applied in real-time.
Work on your Streamlit app
From the VS Code tab you can start a separate instance of the webapp within the Code Studio pod. When the app starts, it outputs its local URL, which you can click on to open the open in a new browser tabs. Using the Ports panel you can choose to display it either in a browser tab or in a web view pane within VS Code. You can then start making changes to the webapp source code and watch the application update as you make changes.
Note
Code Studio webapp source code is located in the code-studio_version folder, and not in the webapps folder, used for regular webapps.
You can also debug the web app by choosing Debug instead of Run. This lets you set breakpoints and examine application state at desired stages of your webapp’s execution.
Publish your Code Studio as a webapp
In “Code Studios”, select the
Hello StreamlitCode Studio, and in its action panel, click Publish, then CreateStart the webapp and go to the “View” tab
See Publish a Code Studio as a webapp for more details about how to configure a webapp from a Code Studio.