
Voila
Voila is Python package to convert a Jupyter Notebook into an interactive dashboard.
Documentation for Voila is available at https://voila.readthedocs.io
Create a Code Studio template
In “Administration > Code Studios”, click Create Code Studio template and create a new template named
voila-templateIn the “Definition” tab, click on Add a block and select
VoilaIn the “Definition” tab, click on Add a block and select
JupyterLab ServerClick Build
Then in the Permissions tab, you can manage which user groups can use the template to create their own Code Studio instances in their projects.
Launch a Code Studio instance
Once the template is built, in a project with a cluster attached:
In “Code Studios” click New Code Studio
Select the
voila-templateCode Studio template, and create a new Code Studio namedHello VoilaStart the Code Studio
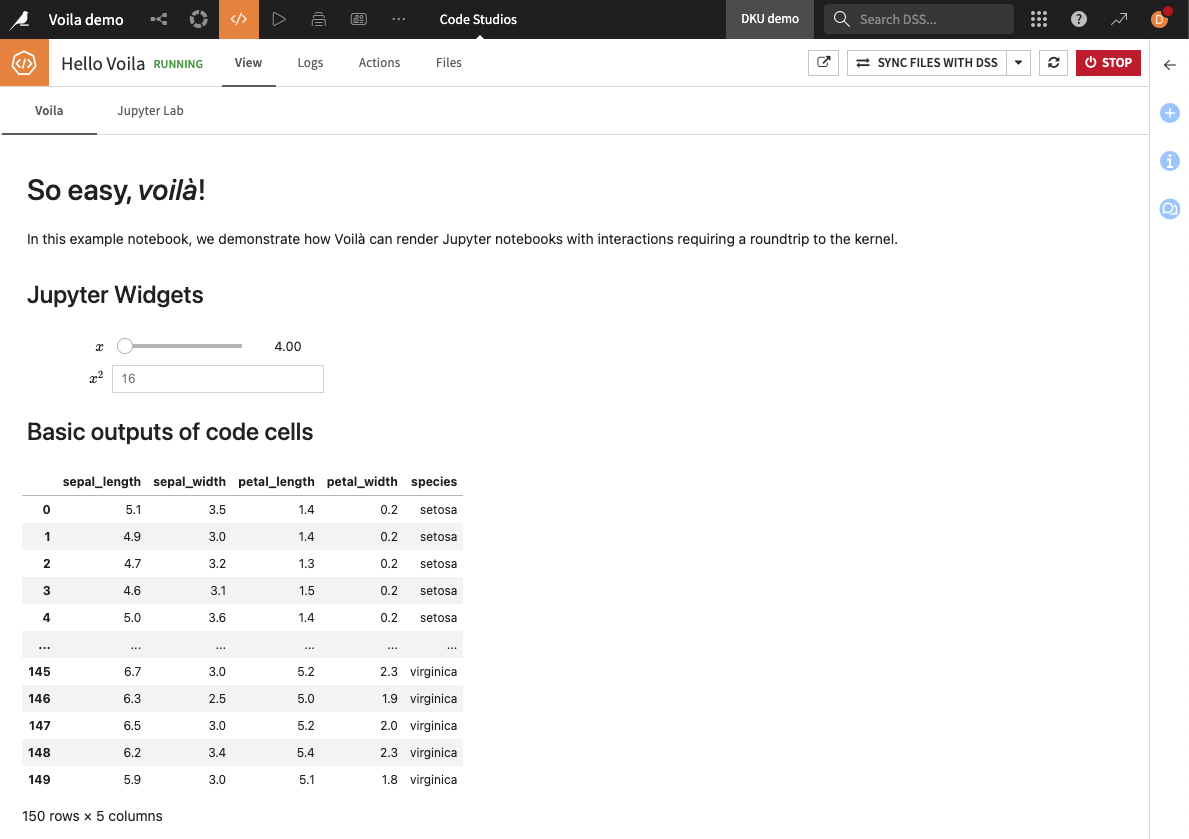
From the Jupyter Lab tab, you can edit the notebook. The starter file is located at
code_studio-versioned/voila/app.ipynb. Click on Sync files with DSS to persist changes upon Code Studio restart.From the Voila tab, visualize and interact with the webapp. Click on the refresh icon to apply changes made in the code editor. You will need to add a code env with
pandasto properly execute the “Basic output of code cells” cell.
Publish your Code Studio as a webapp
In “Code Studios”, select the
Hello VoilaCode Studio, and in its action panel, click Publish, then CreateStart the webapp and go to the “View” tab
See Publish a Code Studio as a webapp for more details about how to configure a webapp from a Code Studio.